Logitech G304/ G305 PCB Replacement Guide
For this job you will need:
- A small screw driver
- Small prying tool
- Bananas! Gaming Hot Swap PCB
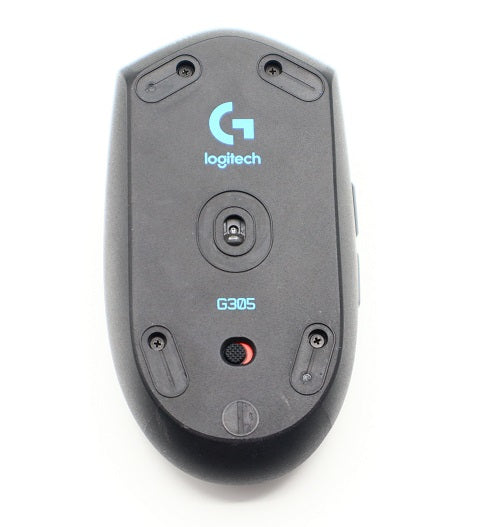
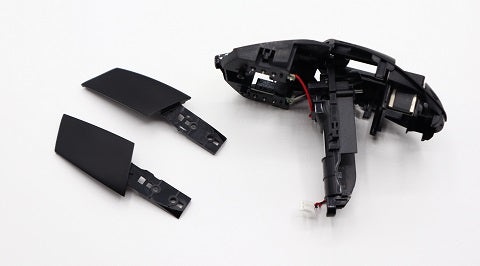
Step 1
Remove Mouse feet
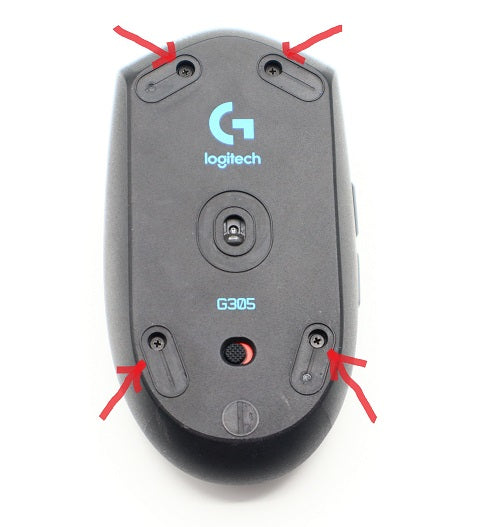
Step 2
Remove 4 screws
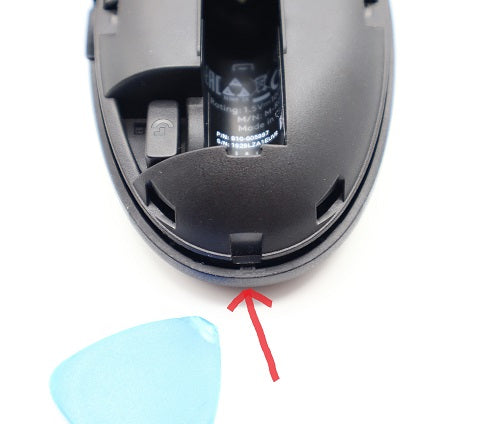
Step 3
Release clip
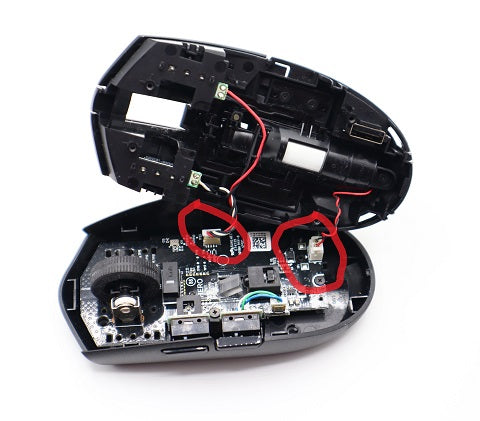
Step 4
Remove JST Connectors
(Our tool works great for easily removing these connectors!)
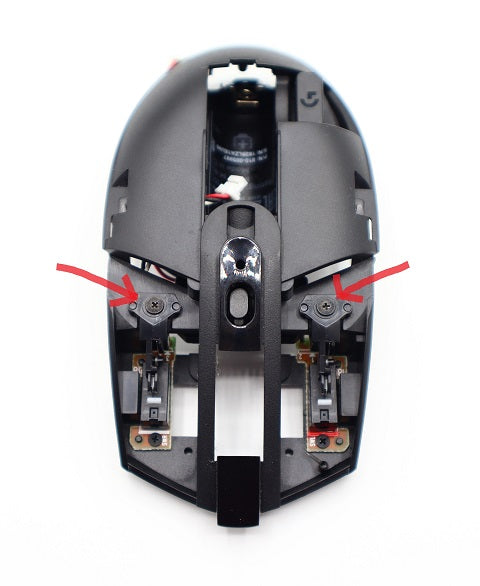
Step 5
With the two halves separated, remove the 4 screws for the main buttons
As well as the 3 screws for the battery holder, 2 are somewhat hidden

Step 6
Wiggle out the main buttons and battery holder
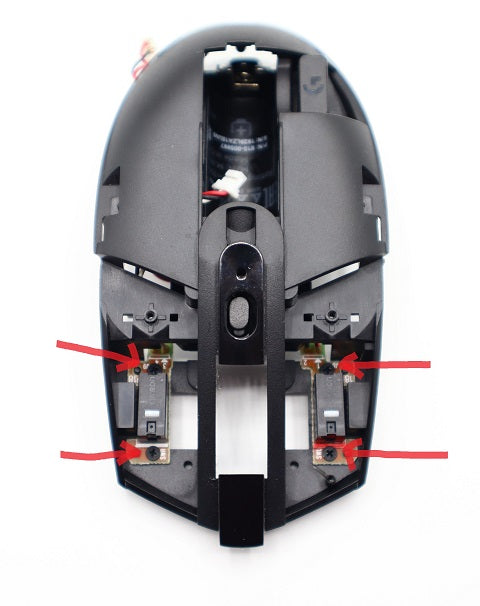
Step 7
Remove the spring holders, 1 screw each
Step 8
Remove the PCBs 2 screws each
Step 9
Installation is the reverse of removal
Tips:
- Be gentle and patient with disassembly/ assembly
- Use this opportunity to clean any dust & dirt from inside your mouse. A small brush works great.
- Take care not to overtighten the screws. Light and easy does it!
(We assume no liability for possibly damaged mice)